
Exercises to Ease Joint Pain on Your Road to Recovery

When joint stiffness or pain from Rheumatoid Arthritis hits, your first thought might be to sit still and wait it out. But gentle, regular movement often reduces pain, boosts energy, and lifts your mood. The trick is doing exercises with good form and not pushing through moves you do not trust. Don’t be shy about asking a trainer or therapist for guidance, and try a mix of options from strength work to swimming and yoga to find what helps you most.
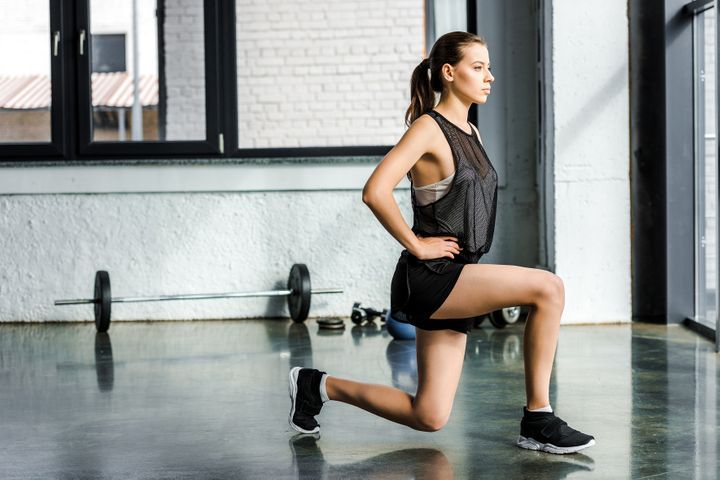
Isometric Lunges for Gentle Knee Strength

Isometric moves work your muscles without a lot of joint motion, which makes them great when knees feel sensitive. The isometric lunge asks you to hold a split-stance and contract your legs, building strength and stability without repeated bending. Start with a small forward step, keep your core engaged, and hold for up to 30 seconds while breathing steadily. Try different depths over time to strengthen the knee through several angles.
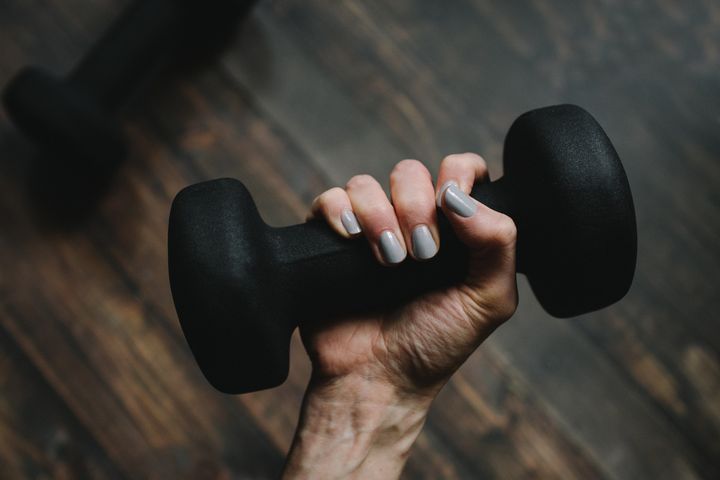
Dumbbell Farmer's Carry Builds Whole-Body Support
Strength training helps protect painful joints, and the farmer's carry gives you a lot of bang for your buck. Carry a weight in each hand, stand tall, brace your core, and walk at a comfortable pace, keeping shoulders down and spine neutral. Pick weights that feel safe but challenging, and increase walk time gradually as you improve. This move trains grip, shoulders, core, and legs all at once without complex technique.
90/90 Hip Switch for Mobility and Stability
The 90/90 hip switch is a smart hip opener that improves rotation, stability, and range of motion for everyday moves. You sit with one leg in front and one to the side, both at 90 degrees, then rotate your torso and switch sides in a controlled way. It makes a great warm-up or cool-down and helps prepare you for lunges, steps, and side movements. Move slowly, work both sides equally, and ask a pro if you want a guided progression.
Wall Slides to Free Up Your Shoulders

Wall slides are a simple shoulder mobility drill that also strengthens the rotator cuff without equipment. Stand with your back against a wall, arms in a 90 degree position, and slide your arms up while keeping contact with the wall as long as you can. Stop if your elbows or lower back lose contact, hold briefly, then lower slowly. With regular practice your shoulder range and comfort during everyday tasks should improve.
Benefits of 90/90 Hip Switch

This next exercise is a bit tricky, but incredibly helpful for those hips that don’t lie! Using the 90/90 Hip Switch is perfect to help improve mobility, stability, and flexibility with anything from more intense exercises like side lunges to just simply going up the steps in your house. Another great thing to keep in mind is that one of the best times to practice this exercise, is before or after your work-out, since it is known as a basic hip opening sequence and also provides a really great warm-up and stretch for your hips.
90/90 Hip Switch: How to Do It
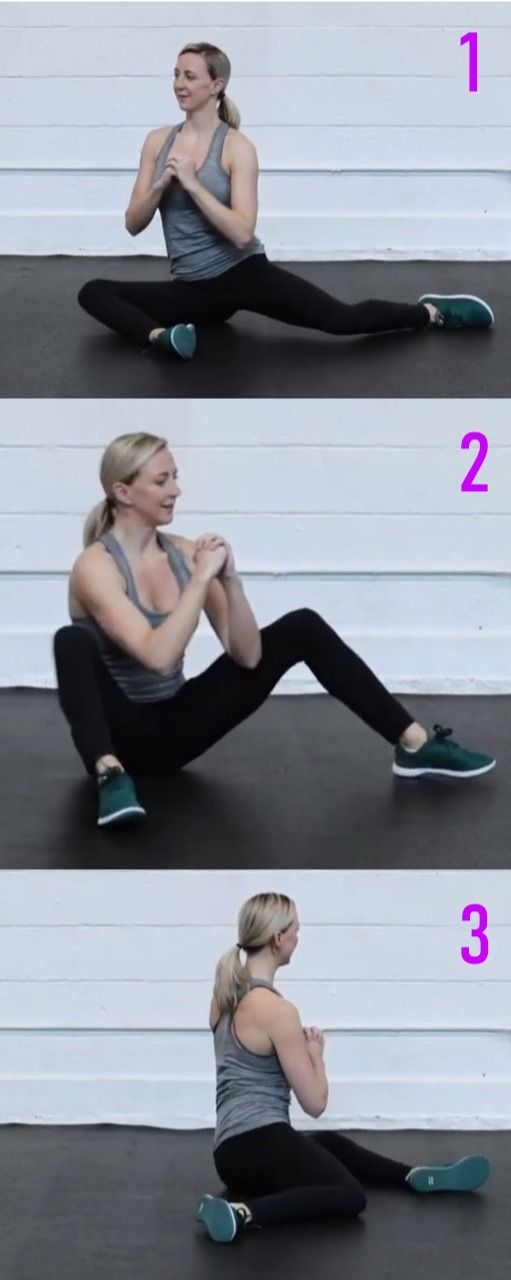
As we mentioned before, this exercise is a bit tricky, but we’ll guide you through it step by step. Keep in mind to always ask a professional for help or additional guidance when needed.
- Start sitting down and facing to the right side. Your lead leg should be bent to 90 degrees, directly in front of you, with your heel and knee vertically parallel to each other. Your back leg should be placed to your side at a 90-degree bend, in line with your hips, with your heel and knee horizontally parallel to each other.
- With your right arm to your side for support, extend your back forward, aiming for your belly button to reach over your knee to feel that stretch. Gently place your left hand on your ankle for additional balance and support.
- Turn yourself to face forward, place your hands behind your back, and walk yourself up as far as your can. Once you’ve reached a comfortable point, hold the pose to stretch. For a more challenging stretch, place your hands on your chest and gently rotate your upper body to square off with your back leg.
- Keeping your weight on your back leg, point your toes, post up on your big toe of your back leg. Swing and rotate your back leg so that you and your knee are facing towards the right side.
- Rotate yourself and your back knee facing forward, so that both knees are now off the ground and parallel with your chest.
- Switch to the opposite direction and repeat the process for your other hip.
Benefits of Wall Slides
We’ve touched on exercises that focus on the lower body, but what about the upper body? Strengthening your muscles is very important for anyone with joint pain, but this next exercise focuses on flexibility and mobility, as well, which is just as important. Wall Slides are a great way to practice shoulder mobility and strengthening your rotator cuff muscles. And the best part is that you don’t even need any additional equipment – just enough space to stretch out your arms! Doing this stretch before or after work-outs will help ease your body during training, too.
How to Properly Perform a Wall Slide
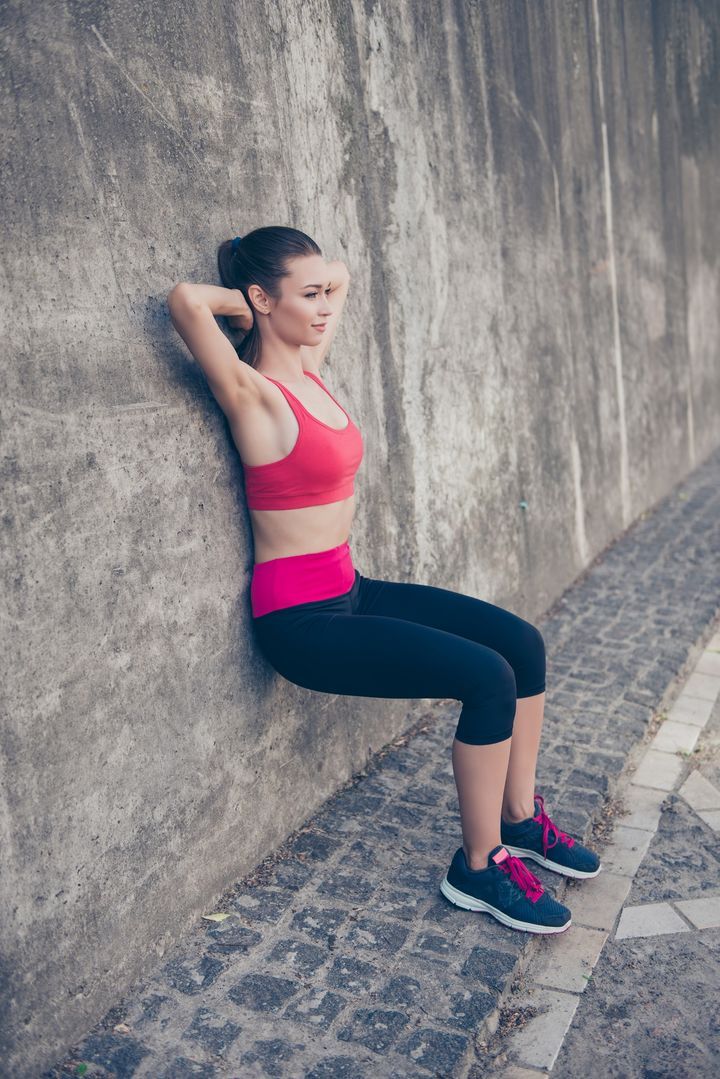
For this exercise, keeping your lower back against the wall is key, but it’s okay if you can’t get it all the way there at first – always listen to your body and what feels okay. The more that you practice, the easier it will be to align your back properly.
- Step about a foot away from the wall and lean your back towards it. With your entire back against the wall, both upper and lower, place your feet shoulder-width apart, and stand up with a straight posture. Place your arms parallel to your shoulders, with your arms bent at 90 degrees.
- Slowly raise your arms up, with your shoulder blades pressed up against and into the wall, keeping your lower back against the wall. Stop at the point where your elbow, wrists, or lower back starts separating and losing contact from the wall.
- Hold your position for 5 seconds.
- Slowly move your arms back to the original position.
Benefits of Weighted Sled Push
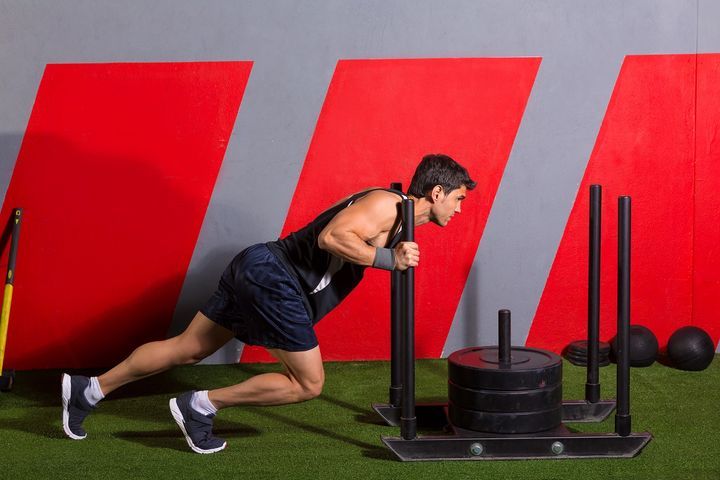
While the Weighted Sled Push might seem like something for CrossFit crazed and intense athletes, this exercise is quite low-risk when it comes to injury and joint usage. You have the option to be as slow or fast as you want, and the actual posture you’re positioned in is arched and concentric, focused on building tolerance on your joints rather than wearing and tearing them. As far as when to do this work-out, it has been known to be an excellent one to add to your routine either at the beginning or at the end.
How to Properly Perform the Weighted Sled Push
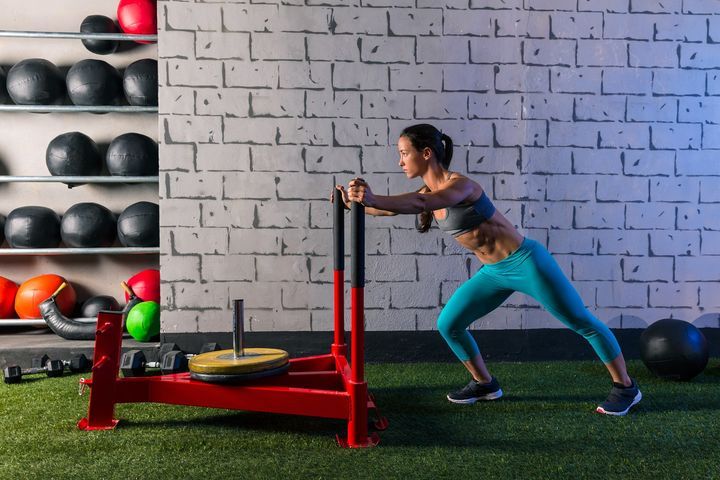
The movement itself for this exercise is quite simple, it’s the position and stance that’s more important to focus on.
- Grip the sled at a height that’s comfortable for you.
- Set your feet at a running stance, and bend down to keep your spine and upper body is as neutrally aligned as possible.
- Inhale a deep breath into your core, filling your back with air. Remember to brace your core and push the sled with the power of your legs.
- Start to push and move the sled at a comfortable pace – going faster doesn’t always equal better. You can always condition yourself to move up in speed and weights on the sled.
- When you start moving, remember to keep all of your toes on the floor with each stride that you take. Your strides should not surpass your core, and your feet should be in line with your knees throughout the rep.
- When using the lower end of the sled, make sure that get low and keep your hips and shoulders horizontally parallel.
Benefits of Practicing Yoga
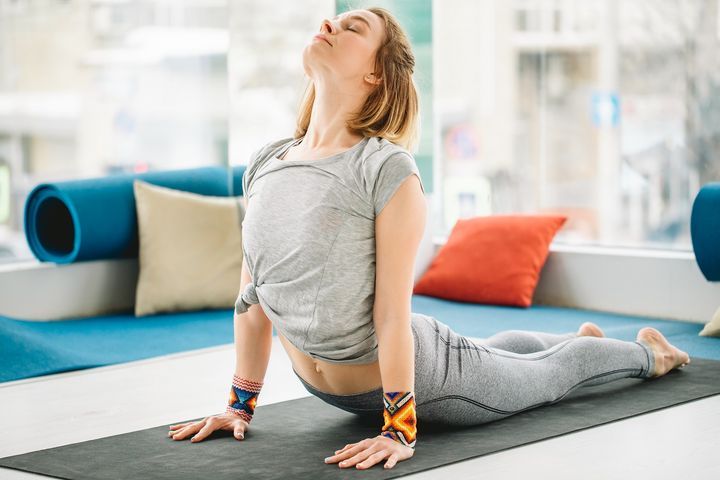
Yoga is incredibly helpful when it comes to healing Rheumatoid Arthritis (RA) and other joint pain issues because of its mind-body-soul benefits. Physically, yoga helps with flexibility, strength training, and takes the pressure off overworking your joints while exercising. Mentally, yoga helps keep you relaxed and can help with managing stress, anxiety, and other mind-soul related issues you might be experiencing. The best part of yoga is that there are so many different practices to choose from. More gentle practices like Anusara, Hatha, or Iyengar are known to be a good fit for joint pain.
How to Properly Practice Yoga
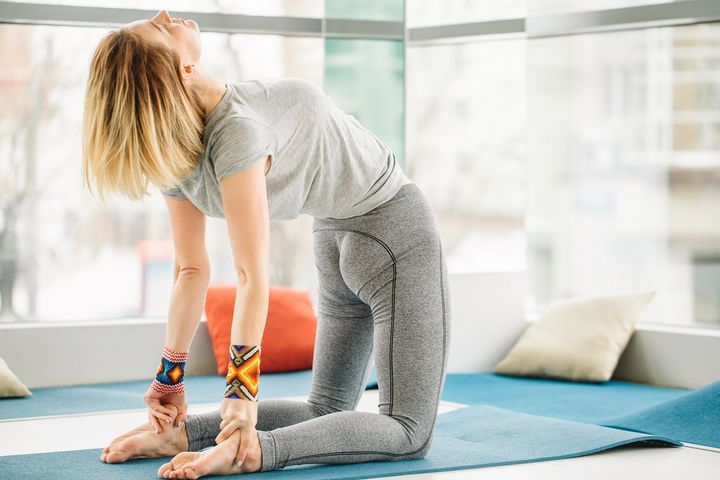
As we mentioned before, there are all sorts of practices and stretches that you can perform during yoga. Following an instructor or guide is best when you are first starting out yoga, that way you can learn to perfect each move at home. The other great part about yoga is that there’s stretches and poses for every single part of your body! And of course, especially with yoga, listening to your body is the absolute most important fact to remember. For almost every stretch that you do, you should parallel the same on each side of your body, but don’t except it to always come at the same level of ease or comfort on each side, as our bodies aren’t always in balance.
Benefits of Cycling

Did you know that Rheumatoid Arthritis increases your risk and chance of cardiovascular disease, too? Don’t freak out just yet, though, we’re here to help with that, too. The best prevention to cycle away from heart disease is to keep up and maintain your heart’s health. And one of the best ways to do that is through cardio exercise like cycling. Along with that, biking around helps with RA by increasing your range of motion and strength in your legs, building endurance, and reducing stiffness.
Benefits of Pilates
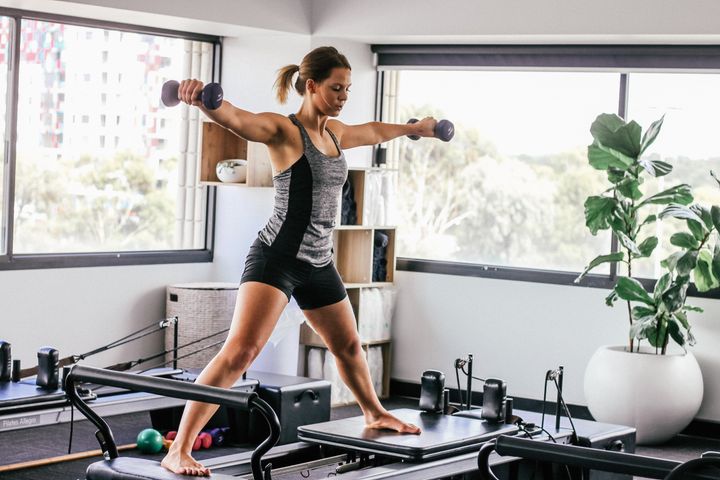
Similar to yoga, practicing Pilates helps with the mind, body, and soul. Why is it specifically good for joint pain and those suffering with RA, though? Because the focused work-out on your abdominals and core are incredibly beneficial when it comes to relieving tension and stress on your joints. Practicing Pilates will also help with mobility and reducing stiffness, strengthening your muscles and reducing weakness in your joints, and keep you in an overall better mood!
Benefits of Water Exercises and Swimming

Did you know that exercising in the water is actually easier to do than outside the pool? There’s a reason why it’s easier for you to carry around your kids in the pool, and it’s because water actually supports body weight. However, water still provides resistance, which is why it’s the perfect place to be training, especially when it comes to RA and joint pain. There’s a reason why many physical therapists use pools for treatment, and it’s because water aerobics and swimming aid with range of motion, flexibility, endurance and stamina, and strength.
New Guidance Backing Exercise
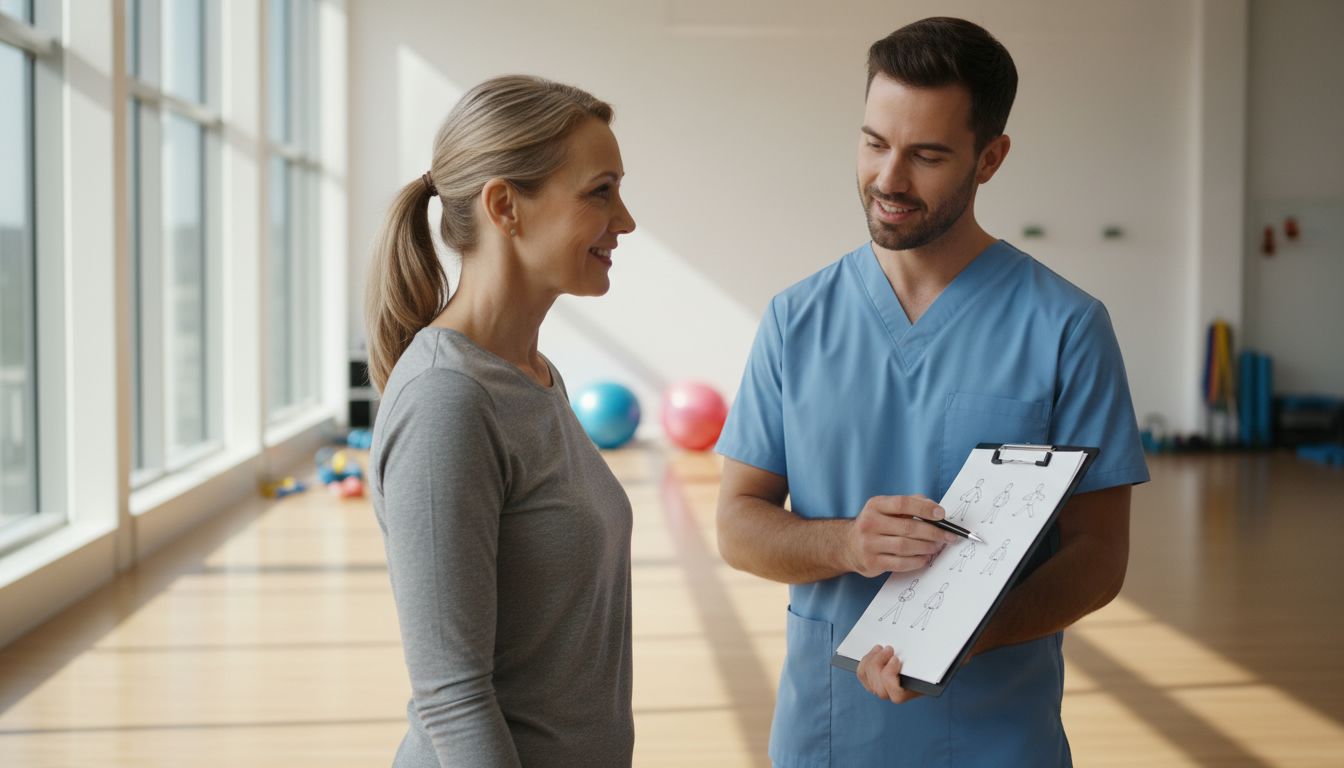
Recent clinical guidance now treats regular exercise as part of standard care for people with Rheumatoid Arthritis. That means aerobic, resistance, aquatic, and mind-body work all can help reduce pain, cut fatigue, and improve function. The takeaway is straightforward, move safely and consistently, and plan your routine with your care team so you get the right mix for your body.
What Recent Studies Show
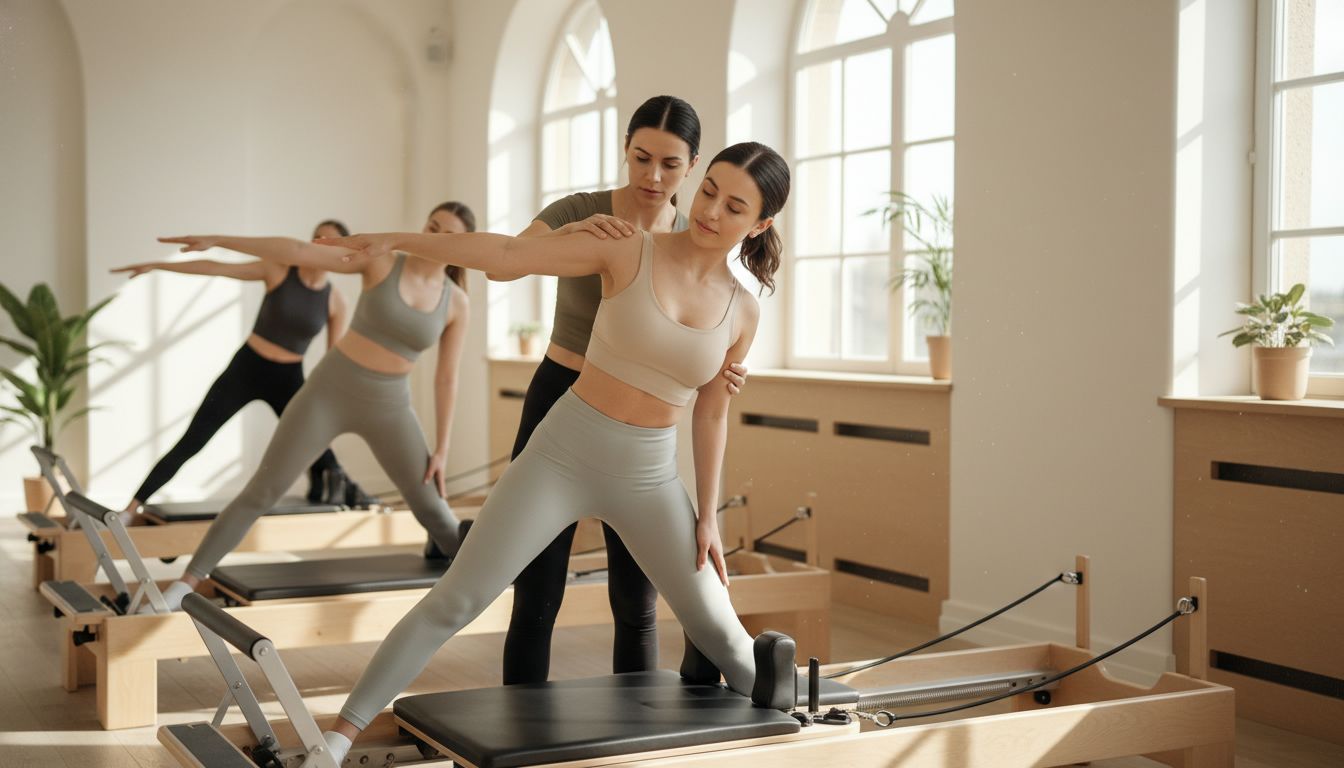
Recent research highlights that certain practices, like Pilates, often score high for easing pain in people with RA, while combining aerobic and resistance work tends to reduce morning stiffness. Aquatic exercise keeps showing up as a gentle but effective option because the water supports weight and still provides resistance. Keep in mind studies vary, but these trends point to practical options you can try.
Not All Joint Pain Is The Same
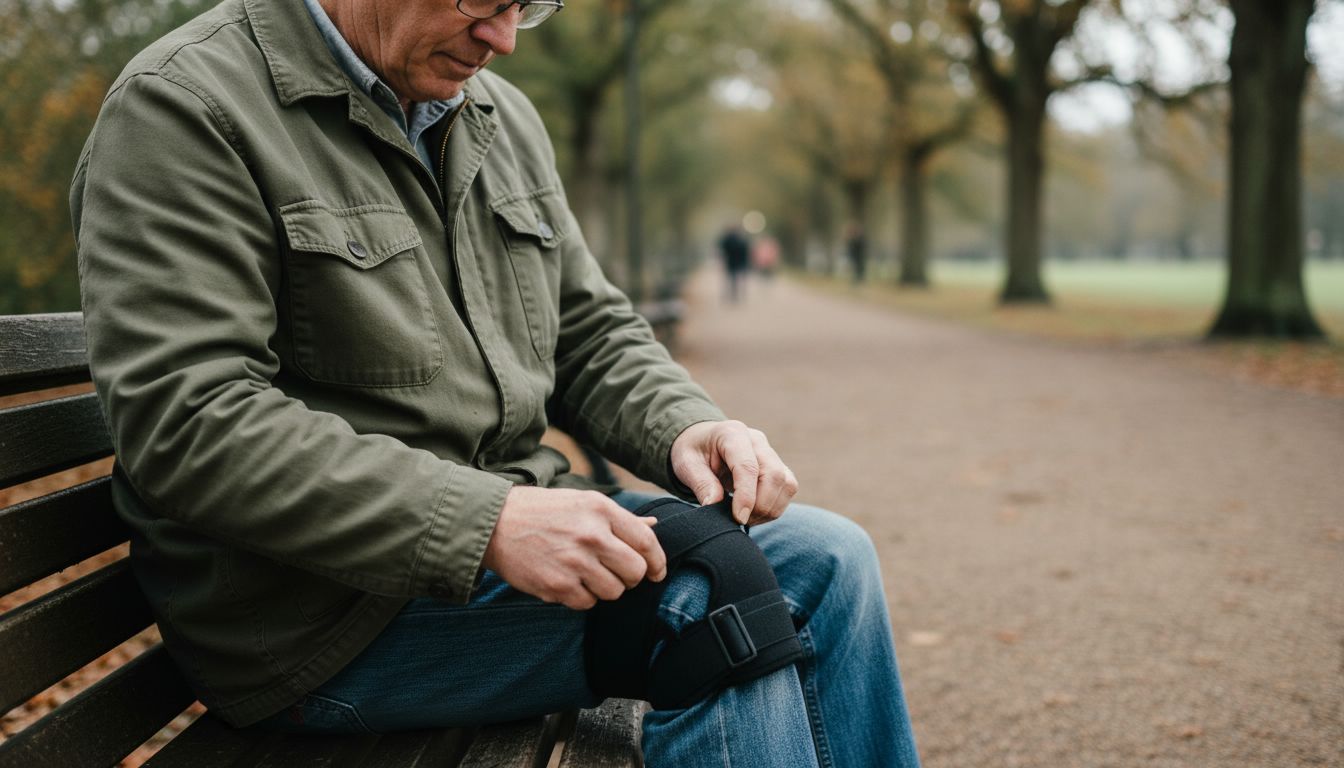
Some recent reviews remind us that results can differ when the problem is osteoarthritis instead of Rheumatoid Arthritis. For some people with OA the benefit from exercise can be small or short lived, so the plan needs to be realistic and tailored. That means monitor how you feel, tweak what you do, and avoid expecting one fix to work for every joint issue.
Easy Rules For Building A Routine
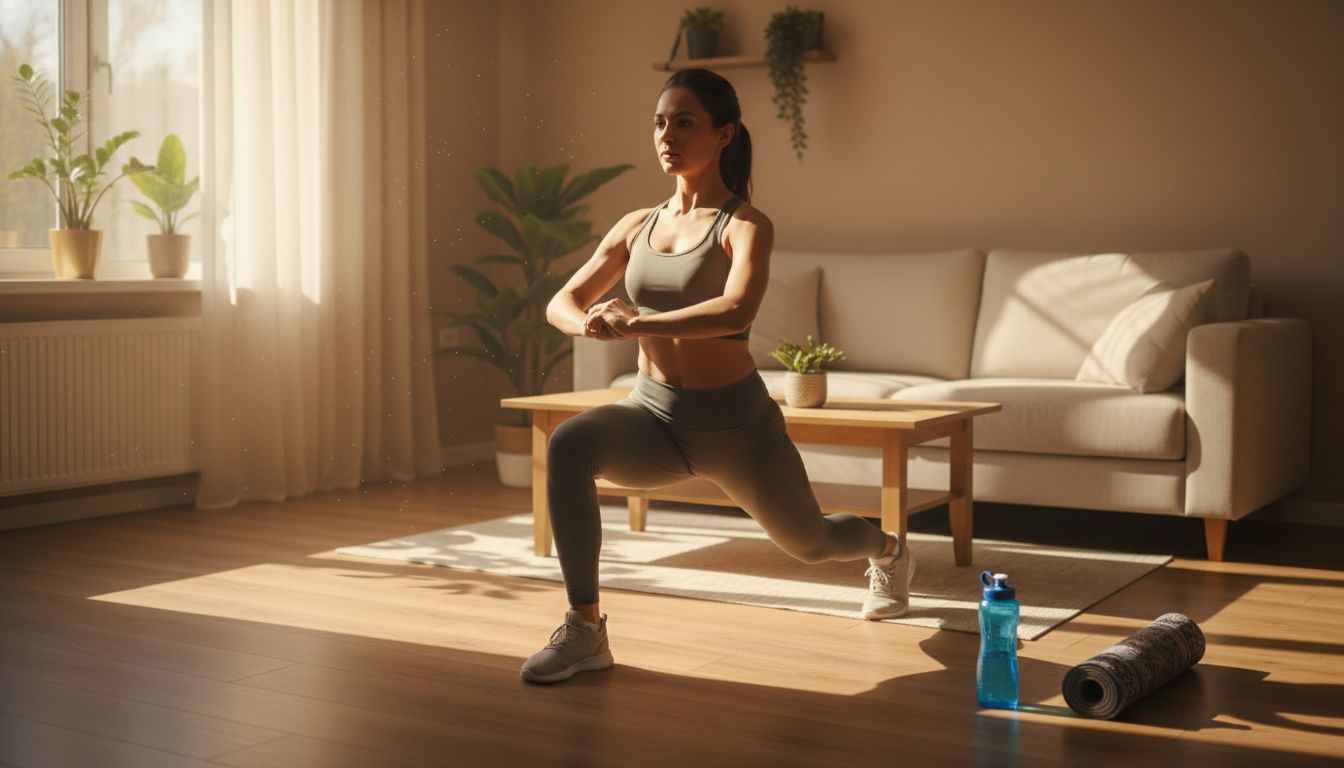
Start small and build from there, mixing low-impact cardio, strength work, and mobility drills rather than relying on one thing. Keep exercises you already read about, like isometric lunges, wall slides, water work, and gentle yoga or Pilates as core options. Track what reduces pain and what makes it worse, and raise intensity slowly when your joints tolerate it.
When To Pause And Ask For Help
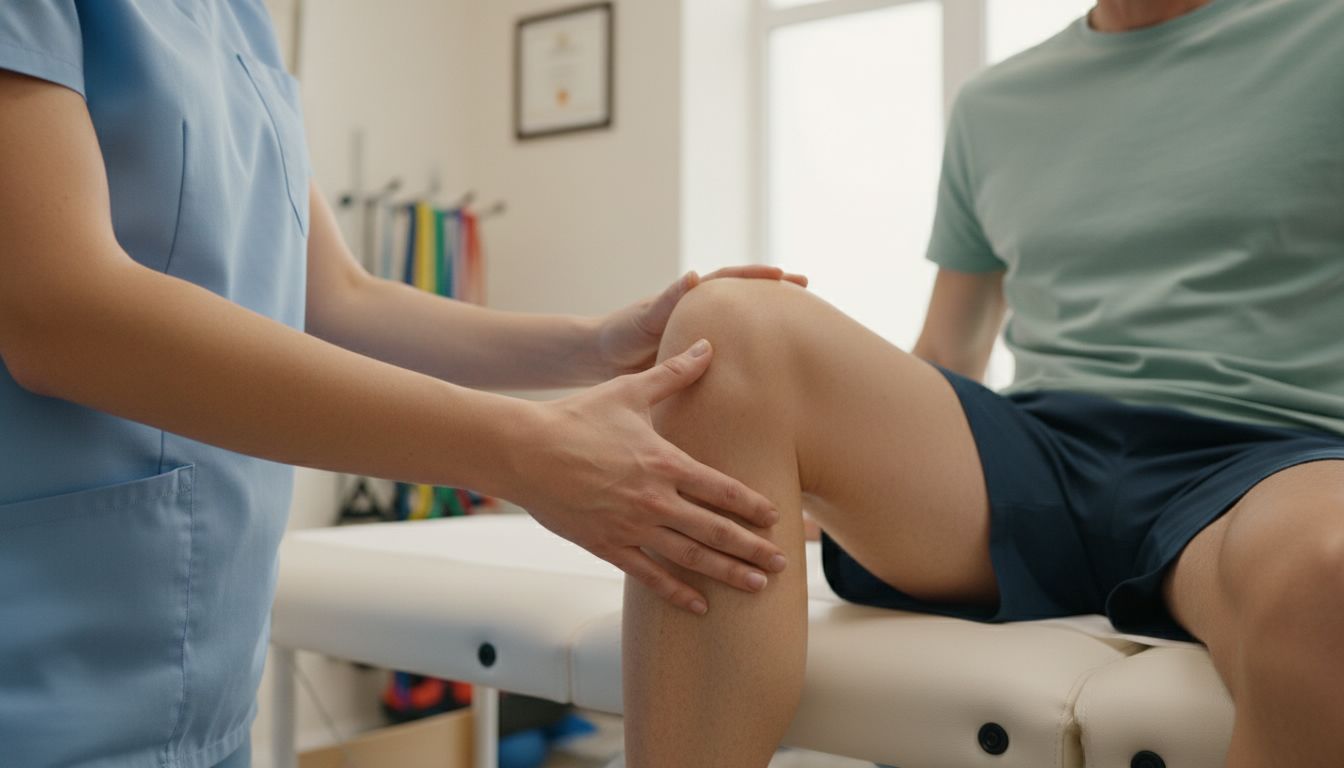
Know the red flags: new severe pain, swelling, fever, or a flare that does not ease with rest are signs to stop and seek professional advice. A trained physiotherapist or exercise specialist can check your form, adjust load, and give progressions that protect joints. Getting help early keeps you training smarter, not harder, and keeps recovery on track.